
Disclosure: This post may contain affiliate links, meaning I get a commission if you decide to make a purchase through my links, at no extra cost for you!
Heading to Utah soon? If you are planning a trip to Zion National Park, this article will help!
Zion is one of the Mighty 5 National parks in Utah as well as one of the most visited parks in the country.
While it’s quite small compared to Yellowstone for example, there is plenty to do and you’ll need at least 2 days to explore.
Canyons, river hikes, beautiful views… it has a bit of everything!
That said, as it is quite crowded, it’s important to have a plan and organize your trip. While it can be tempting to just figure it out there, a plan will go a long way.
Here’s exactly how I’d spend two days in Zion National Park.
🚗 Good to know
Here are a few things to know about this itinerary and Zion.
- It includes a fair bit of hiking but nothing that requires you to be particularly experienced.
- You need to get there early to beat the crowds and the heat and actually have time to do everything I recommend. Aim to arrive at the visitor center between 6:30am and 7:30am.
- From March to November (and over the holidays), the Zion Canyon Scenic Drive is closed to private cars, so you’ll use the free park shuttle to get around the canyon.
- Angels Landing needs a permit. It works as a lottery, with a seasonal lottery months ahead and a day-before lottery. If you don’t get one, you can still hike the same trail up to Scout Lookout.
- It gets extremely hot, even in the fall. Bring far more water than you think you’ll need, plus a hat and sunscreen, and do the big hikes early.
- Where to stay: Springdale is right at the entrance and the most convenient (with a free town shuttle), but it’s pricey. Hurricane and La Verkin are 20 to 30 minutes away and cheaper. Book early, ideally somewhere with free cancellation, as plans change a lot out here.
- I recommend using the GuideAlong App as it has some interesting and useful insights. It’s practical in the car on your way to Zion but you’ll need earplugs for the part in the Zion Canyon as you’ll be in the shuttle.
Day 1: Zion Canyon
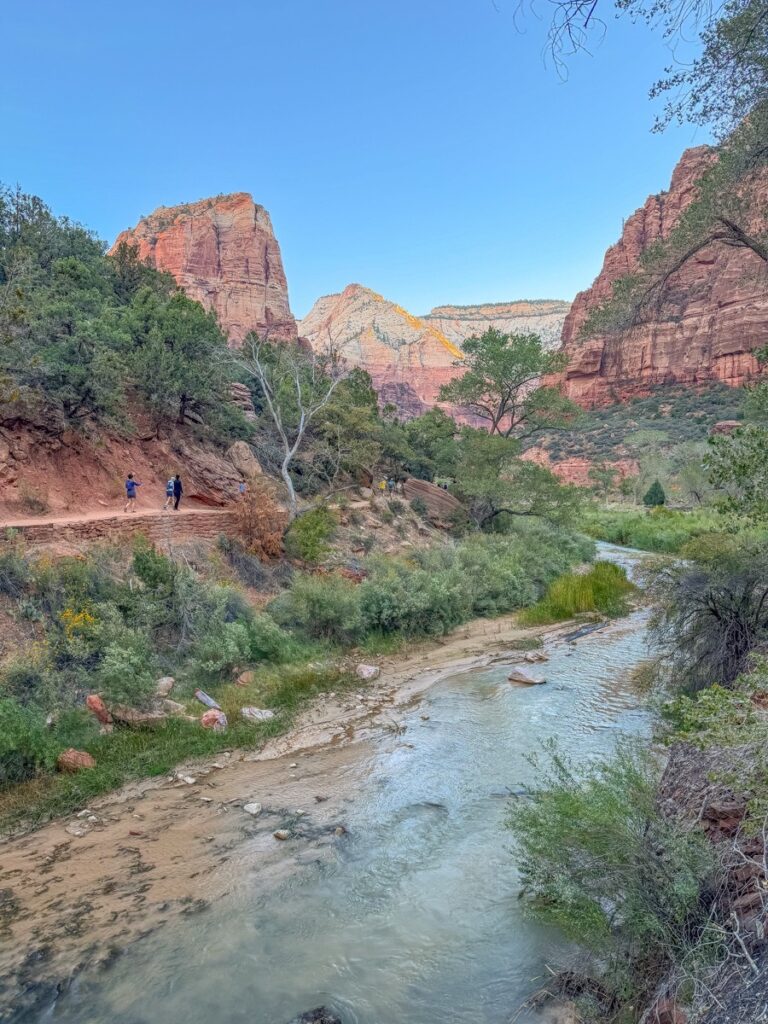
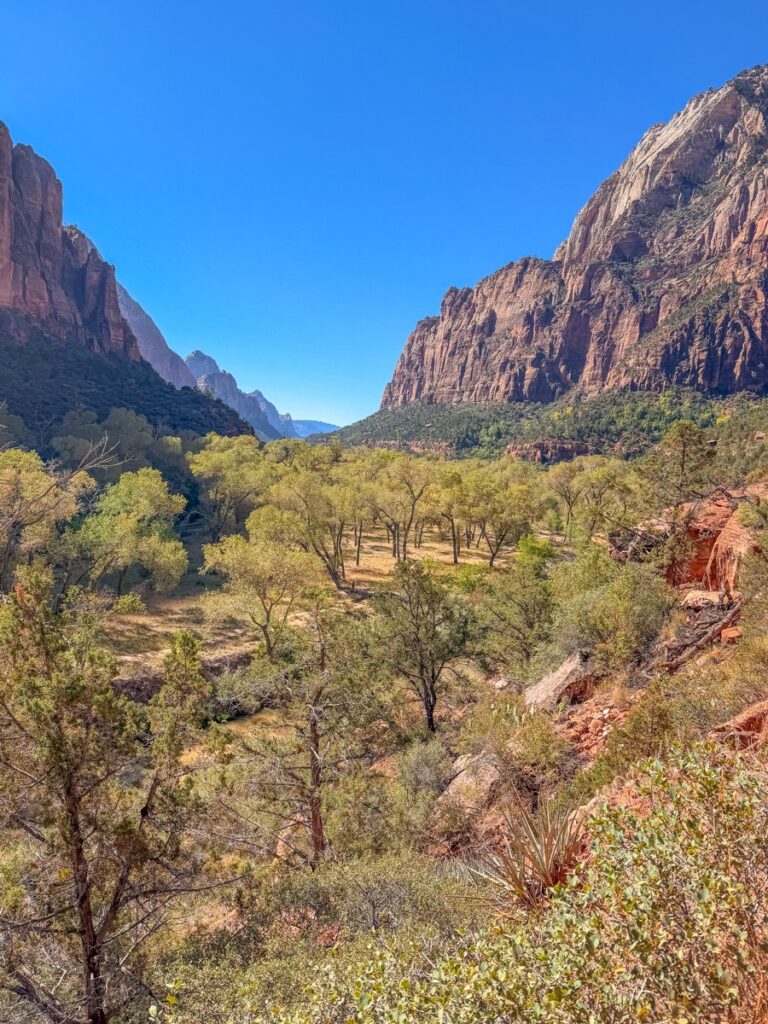
Your first day is all about the heart of the park, Zion Canyon.
This is the part of the park that is very busy and there is a lot to do so I would recommend getting there as early as you can.
Drive to the entrance of Zion National Park and park at the visitor center
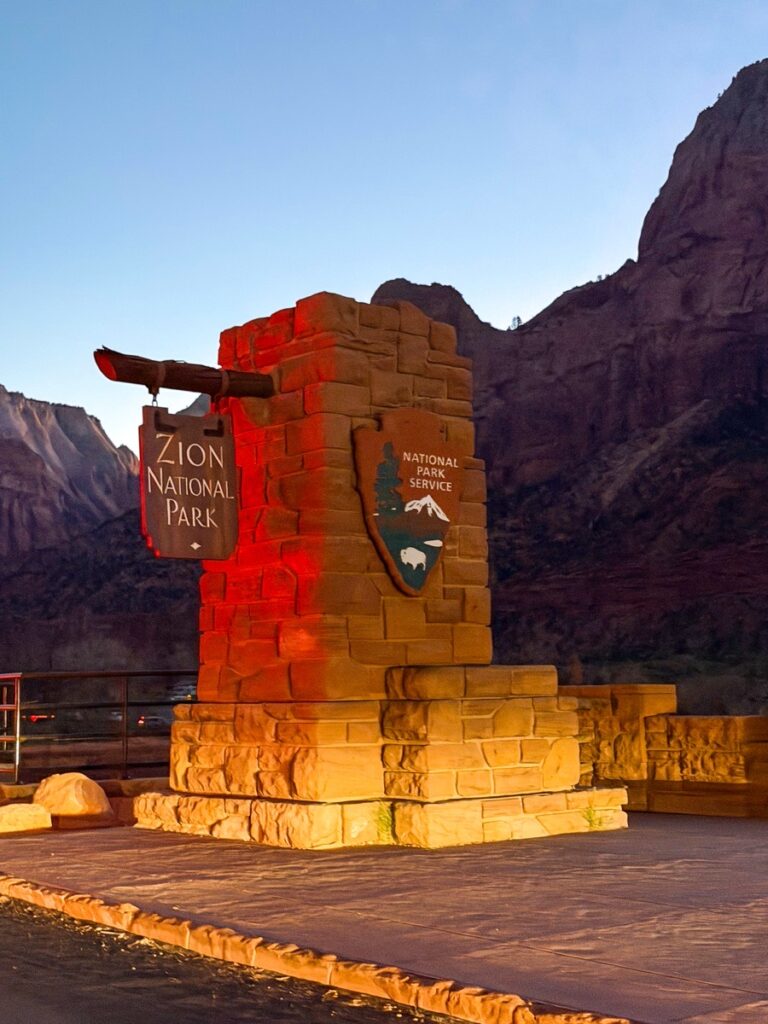
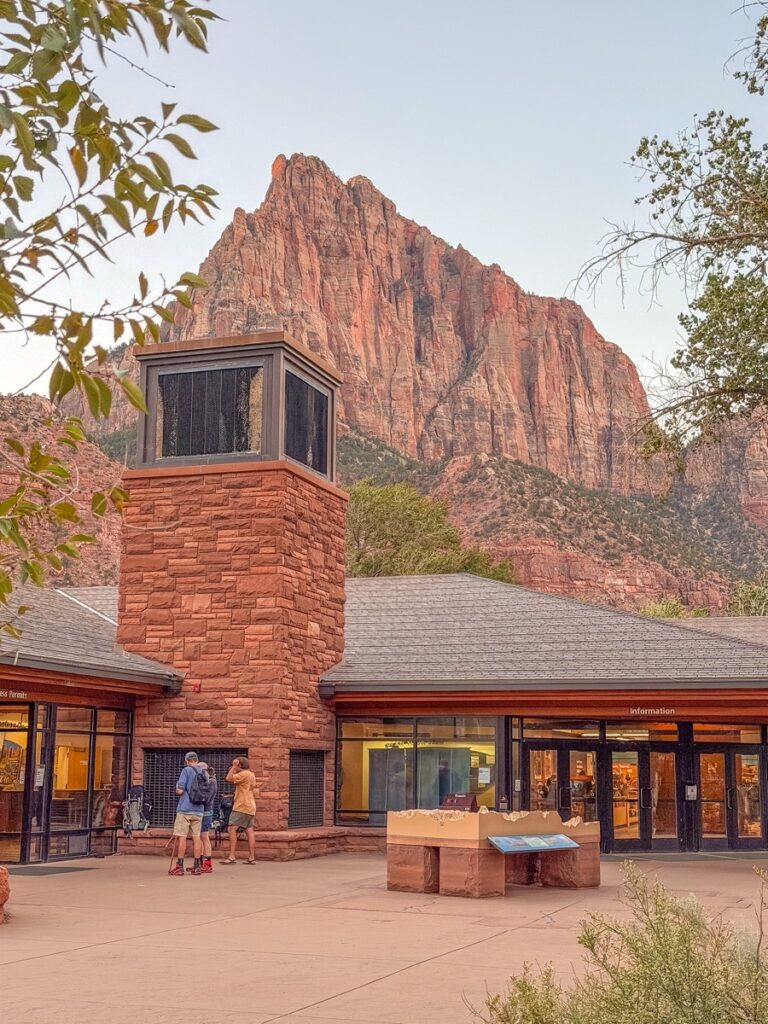
The first shuttle is at 7AM so you should aim to get there between 6:45AM and 7:30AM.
When you get to the entrance hut, you’ll need to show your America The Beautiful pass or pay the entrance fee.
You’ll be given a map, make sure to keep it with you at all times. There is all the information you may need on it and cell coverage in the park is patchy at best.
Park your car near the visitor center and walk to the shuttle stop.
There are restrooms as well as water stations here so fill up your bottles if needed.
Please note that there is also a shuttle from Springdale which is also an option but it starts at 8AM.
Take the shuttle to The Grotto (Stop 6)
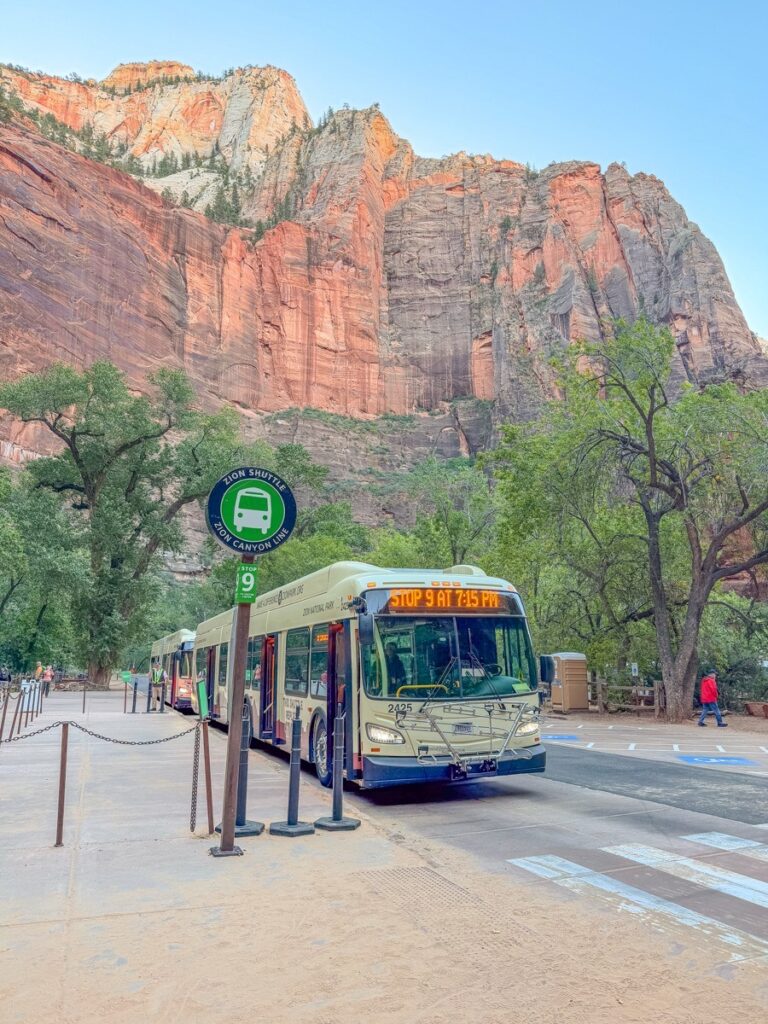
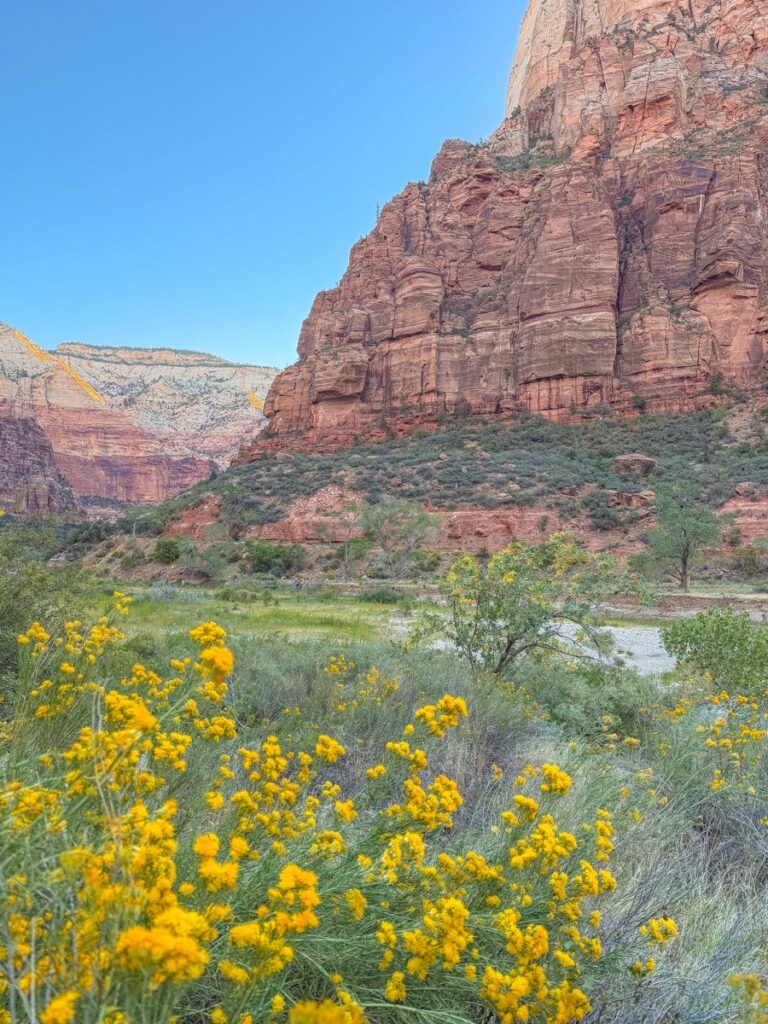
Take the shuttle up to stop number 6 which is the Grotto. This is where the hike to Scout Lookout and Angels Landing start as well as other interesting hikes.
Here you’ll find restrooms as well. I would recommend using them as there won’t be any until you reach the top of Scout Lookout which will take 1.5 to 2 hours.
Angels Landing or Scout Lookout

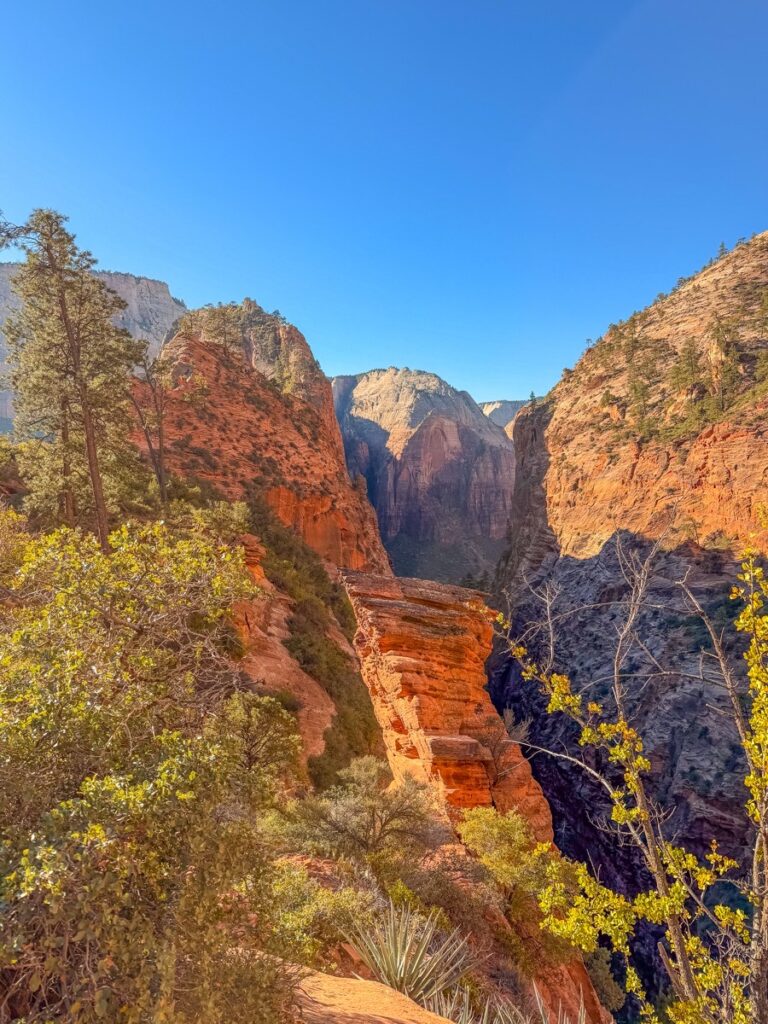
From the shuttle stop, cross the road and the bridge and turn right on the West Rim Trail.
Before we get started, it’s important to note that while Angels Landing is the most famous hike in Zion, it’s actually only the chain section after Scout Lookout.
You need a permit in order to access Angels Landing. If that’s something you are interested in, you can apply for a permit when it opens a few months in advance. If you didn’t get it then, you can still apply for a permit the day before. I would recommend trying to get the morning slot as this trail is hard to do with the heat during the day.
Altogether, it’s a strenuous hike of about 4.2 miles with 1,000 feet of climbing, and it takes around 3 hours return.
If you don’t have a permit, don’t worry. You can do exactly the same hike up to Scout Lookout. It’s the same thing except the final chained section, and the views are still incredible.
There’s no shade for most of the climb, which is another reason to get going early. Take plenty of water with you, as it’s a long way back to the nearest tap.
The switchbacks near the top can feel a bit hard (mainly because you’ve been walking for quite a while by then) but just take it slow and you’ll be fine.
Once you get to the top, you’ll discover beautiful views and can of course go to Angels Landing if you have a permit. The chain section takes about 30 minutes each way.
There are restrooms at Scout Lookout as well (though I’ll admit they are not the best).
Once you are done, you can walk back down to the beginning of the trail. This is quicker as you are going down but it can be a bit tough on your knees.
When you’re back at the Grotto, you’ll see there are picnic tables on the side. At that point you’ll probably be a bit hungry so it could be a nice place for lunch or a snack as they are in the shade.
It’s also good to have a bit of break after that strenuous hike.
Kayenta Trail and the Emerald Pools

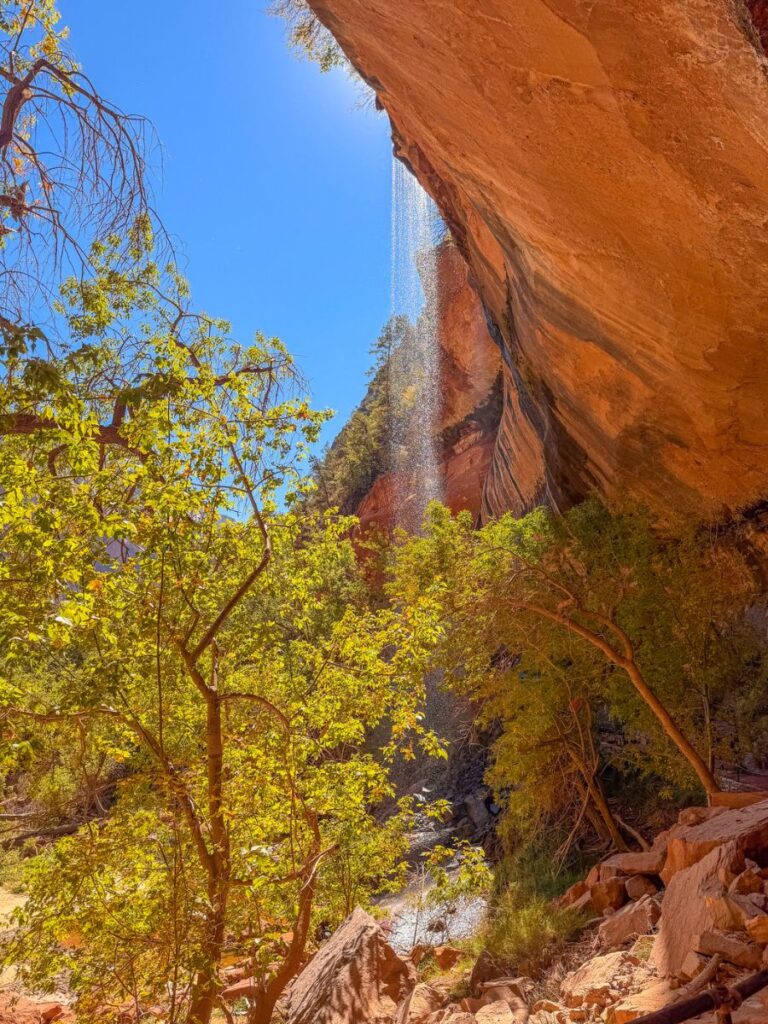
After your lunch / snack break, I would recommend going to the Emerald Pools.
Here you have two options:
- If you are tired, you can take the shuttle back to Zion Lodge and start the Emerald Pools walk from there. This will save you some walking.
- If you still have some energy in you, I would highly recommend doing the Kayenta trail.
The Kayenta trail starts at the Grotto.
It’s a lovely 2-mile walk that runs along the cliffs to the Emerald Pools, with great views down the canyon the whole way.
I absolutely loved that trail (even more than Angels Landing) so I would highly recommend it but bear in mind that with the heat it can feel harder so don’t push yourself.
You can then merge into the Lower Emerald Pool. This one is pretty cool as the path actually takes you behind a waterfall. On a hot day it’s a wonderful and cool spot. Also, it’s very beautiful with the sun as the drops of water almost look like glitter!
The trail comes out at Zion Lodge.
Zion Lodge
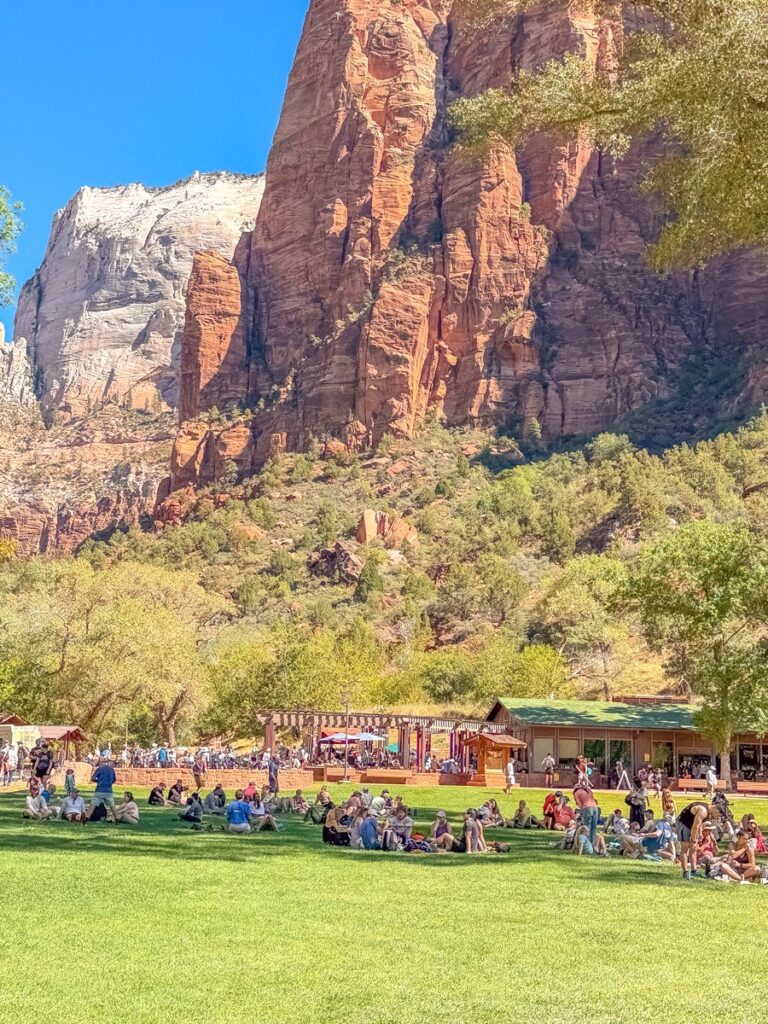
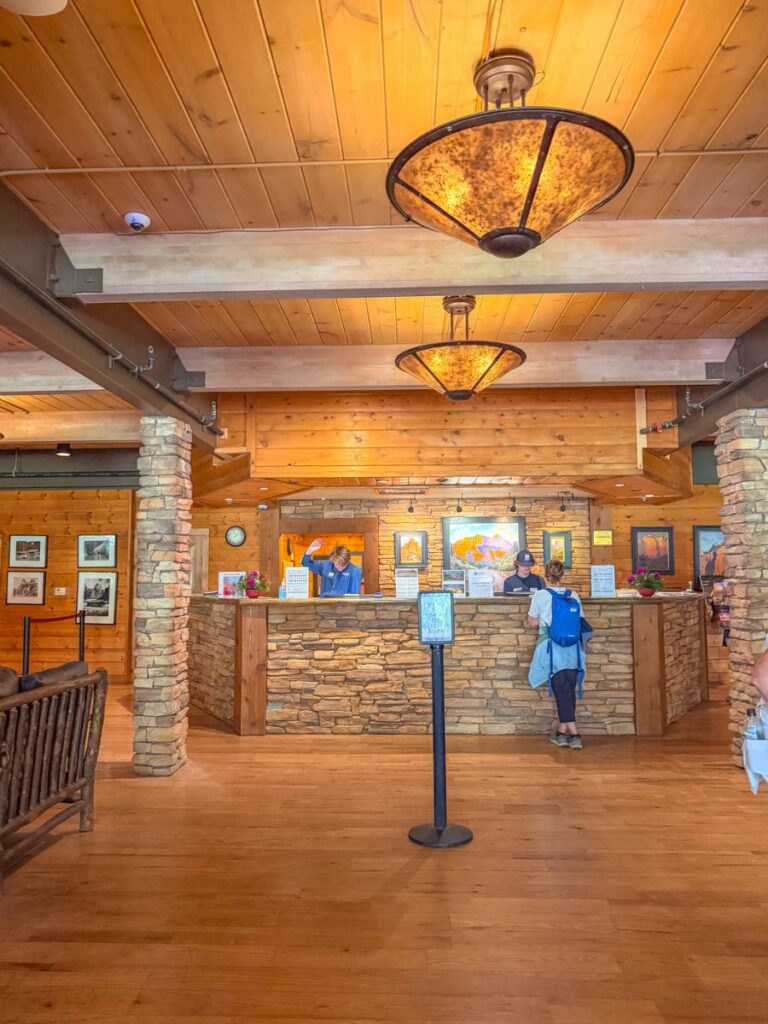
This is the only place in the park where you can buy food and drinks so that’s a good place to do so.
That having been said, it’s very busy and you might have to stand in line for a while (which is why I recommend packing a picnic).
You will also find a store as well as the lodge.
You can then take the shuttle back down towards the visitor center.
While there are other hikes you could do in Zion Canyon, by then you will probably be quite tired and with the heat it’s probably not a good idea to do more hiking.
This is why I recommend activities for the afternoon that are a bit less intense.
Court of the Patriarchs
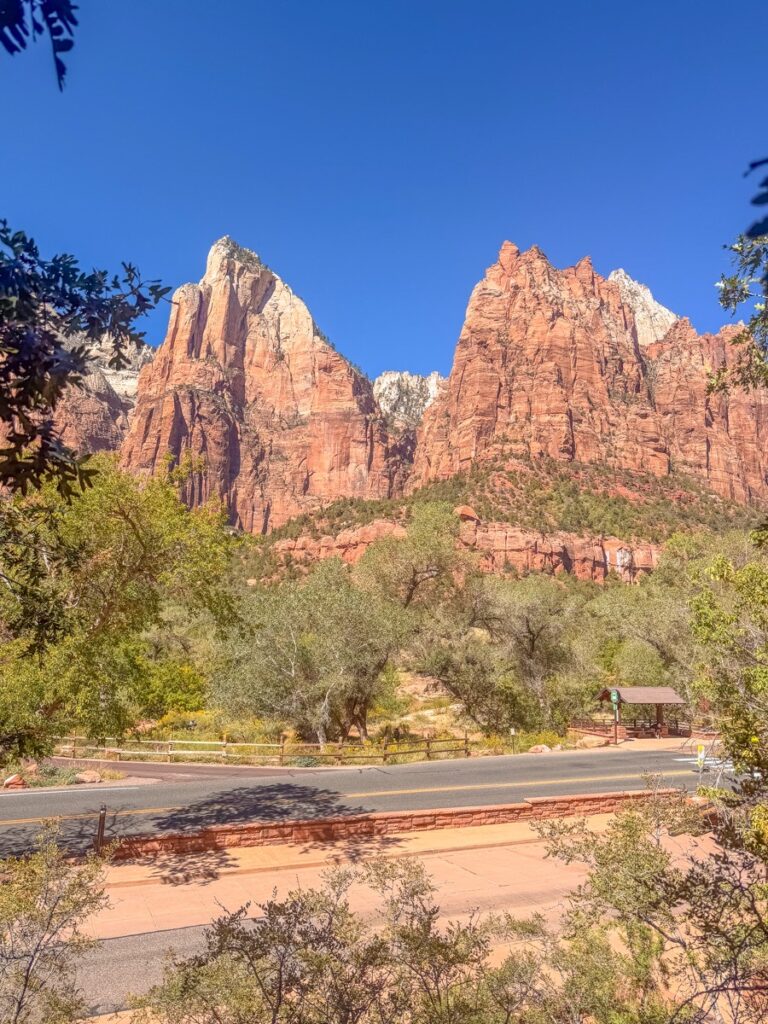
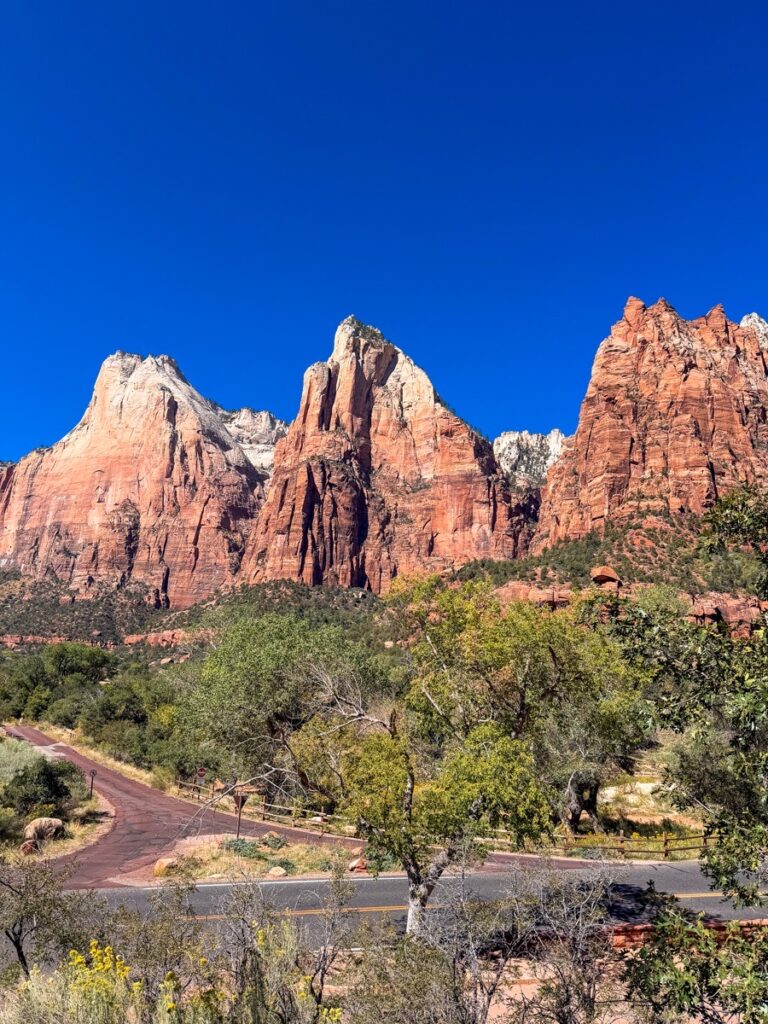
Once you are in the shuttle, make sure to stop at Stop 4 which is the Court of the Patriarchs.
It’s a quick one. A short walk (10 minutes or so) leads to a viewpoint of three towering peaks named after the biblical patriarchs. It’s a nice, easy stop to break up the day.
You can then take the bus back to the visitor center.
Note: While I recommend exploring another part of the park in the afternoon, there is another stop that could be of interest to you and it’s the museum. If that’s something you are interested in, get off at Stop 2.
Zion Canyon Visitor Center
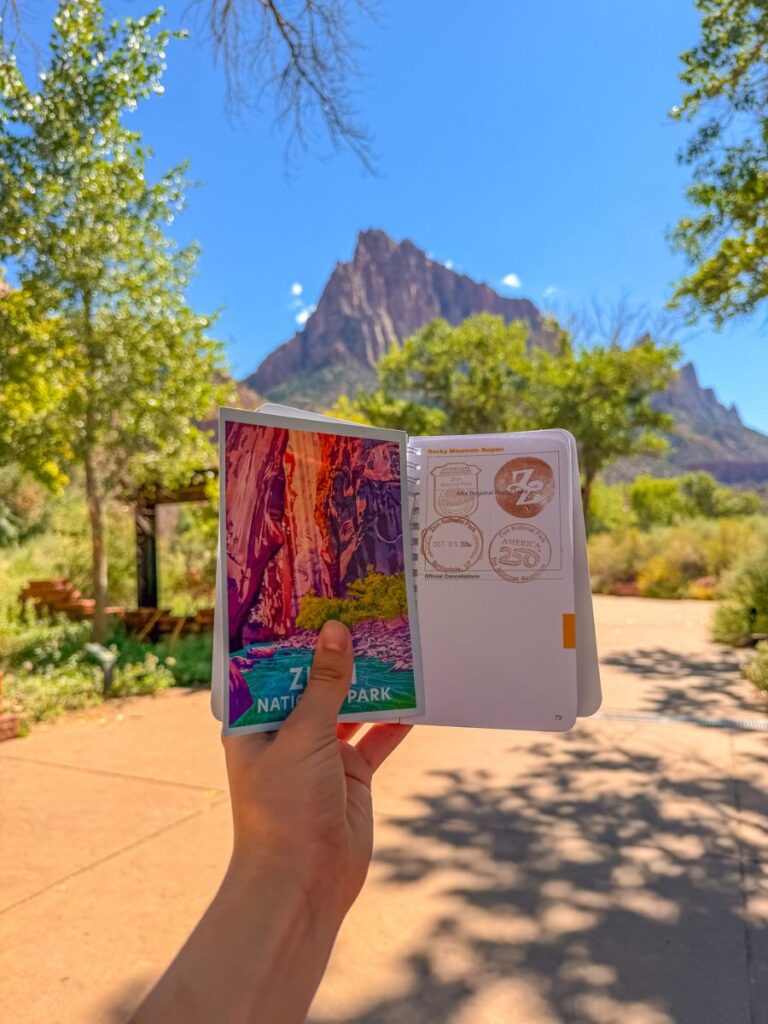
Get off the shuttle at the Visitor Center.
By the time you get there it should be between 2 and 4 which gives you time to have a look around the visitor center and get your passport stamps.
You can then exit the park and drive to Springdale to pick up your gear for the Narrows for the day after.
Pick up your Narrows gear in Springdale

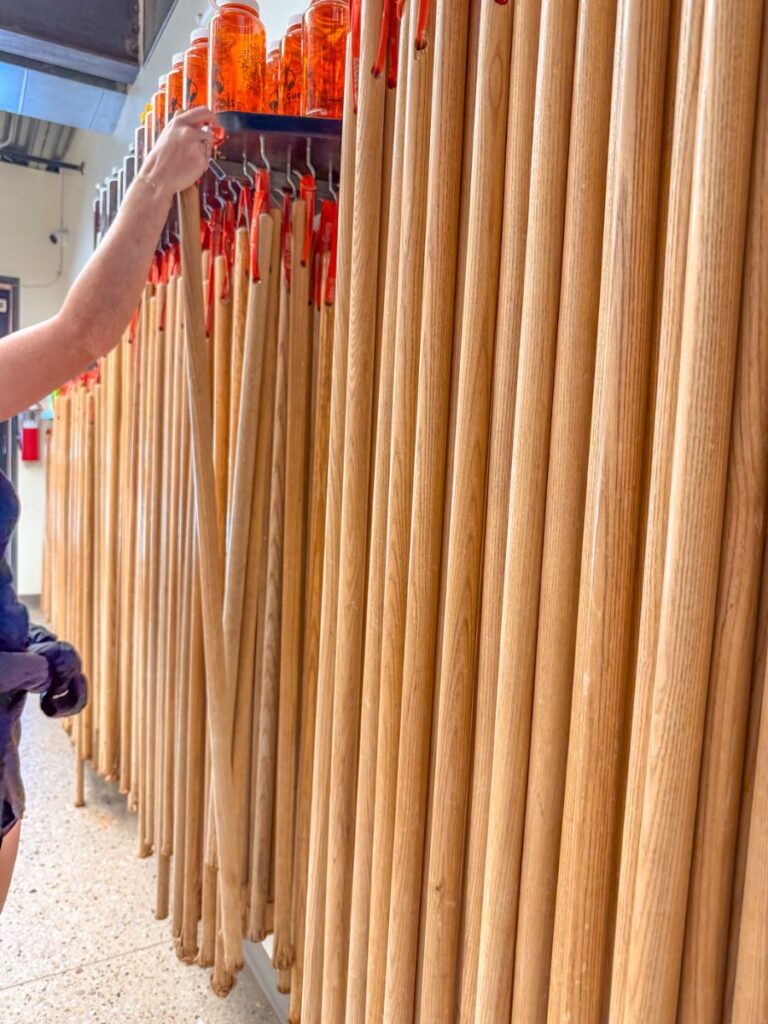
On your way out, stop in Springdale to hire your gear for the Narrows tomorrow.
There are several outfitters (I used Zion Guru).
I would recommend booking online the day before to be sure but you can just show up if you want.
You can usually collect the gear from 3pm the afternoon before your hike which is quite practical and will allow you to go to the Narrows as early as possible the day after.
No matter what, you should hire at least the water shoes, neoprene socks and a walking stick (that’s the basic package).
If you are visiting between October and May, you will probably need the dry bib package.
This package is a lot more expensive but it will keep you 95% dry. The water is cold even in summer but it’s not a problem to walk whereas it really is too cold in winter.
💡 PRO TIP: If you have a doubt on which package to take, I would recommend waiting until you get to the shuttle in the park on day 1 because you’ll see loads of people going to the Narrows and it will be very clear which package you should take.
We hiked the narrows at the beginning of October so I thought we would need the full package but when we got to Zion on the first day I realised that everyone only had the shoes so I asked around and as it turns out the water was still ‘warm’ enough.
If the water is warm enough for shoes and shorts, that’s ideal as it’s a lot more practical.
Once you’re done with the rental, you can explore Springdale. There are loads of restaurants, some shops and it’s a great town.
Optional: Kolob Canyons or Kolob Terrace Road
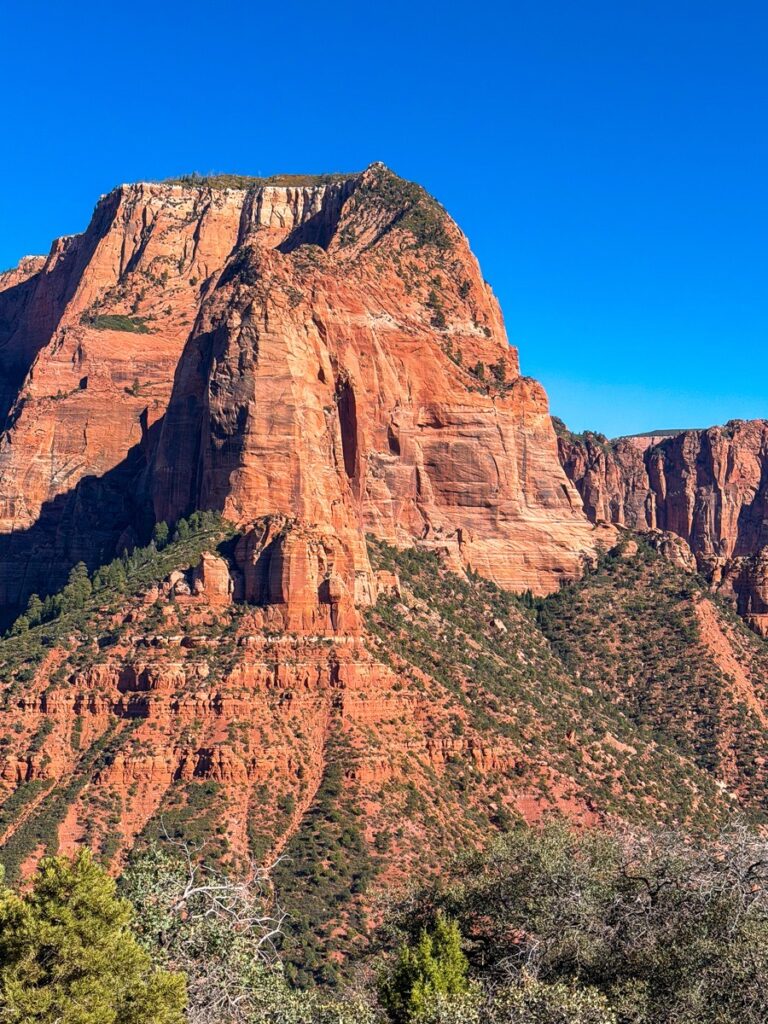
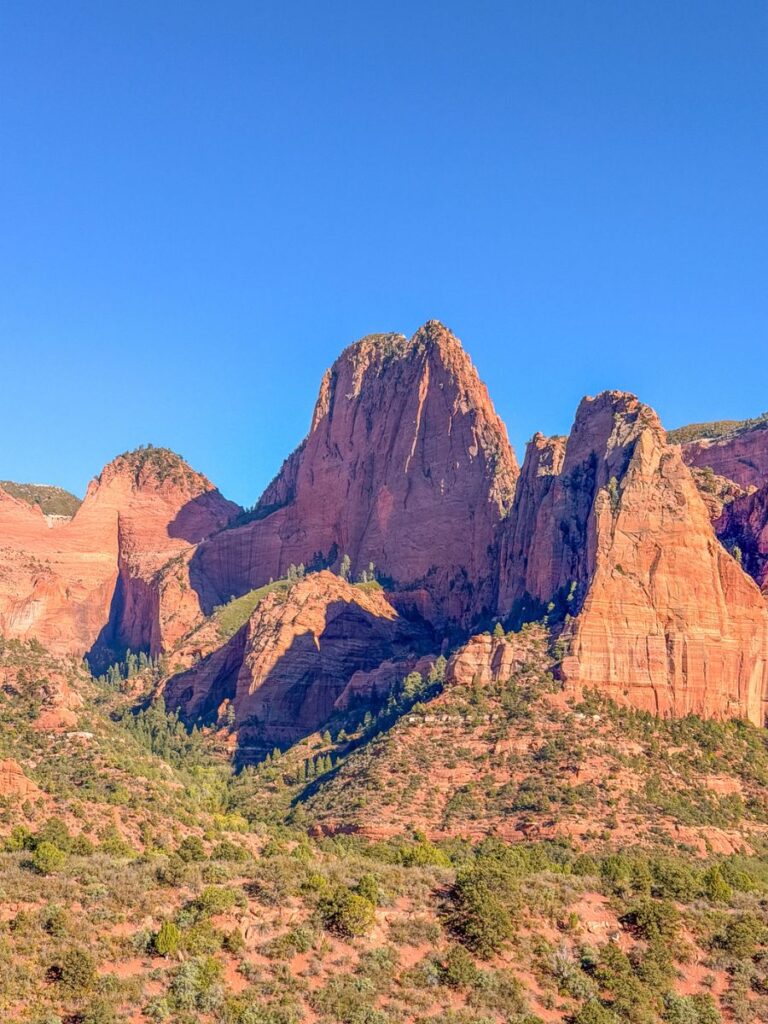
If you still have energy and daylight, I would recommend going to the other side of Zion. It’s a lot quieter and most people don’t actually go there but it’s well worth it.
The part I would recommend is Kolob Canyons. It’s off the I-15 and has its own park entrance.
Here you’ll barely find any crowds.
It takes about 45 minutes to get to the visitor center from Springdale and you’ll need 1 to 2 hours there.
The scenic drive from the visitor center to Kolob View Point only takes 15 minutes (one way). There are a few viewpoints on that road but I would recommend just driving all the way to the end first.
Once you get to Kolob View Point, there is a parking lot and you can walk the 1-mile long Timber Creek Overlook Trail. It’s an easy walk which takes about 30 to 60 minutes (return).
The views at the end are breathtaking!
There are more hikes in this part of the national park but after the hikes this morning I doubt you will be up for more!
Alternatively, if you don’t want to drive to Kolob Canyons, there is another part of the park that has a cool scenic drive. The turn off is located between Springdale and La Verkin which means it’s very convenient for most people.
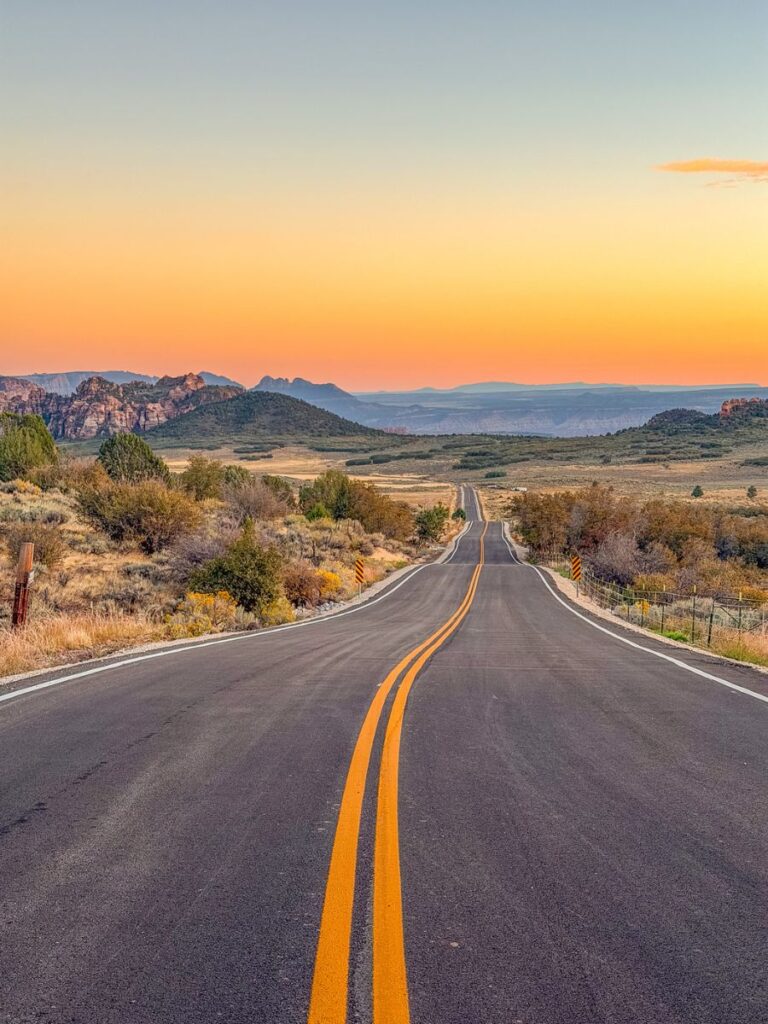
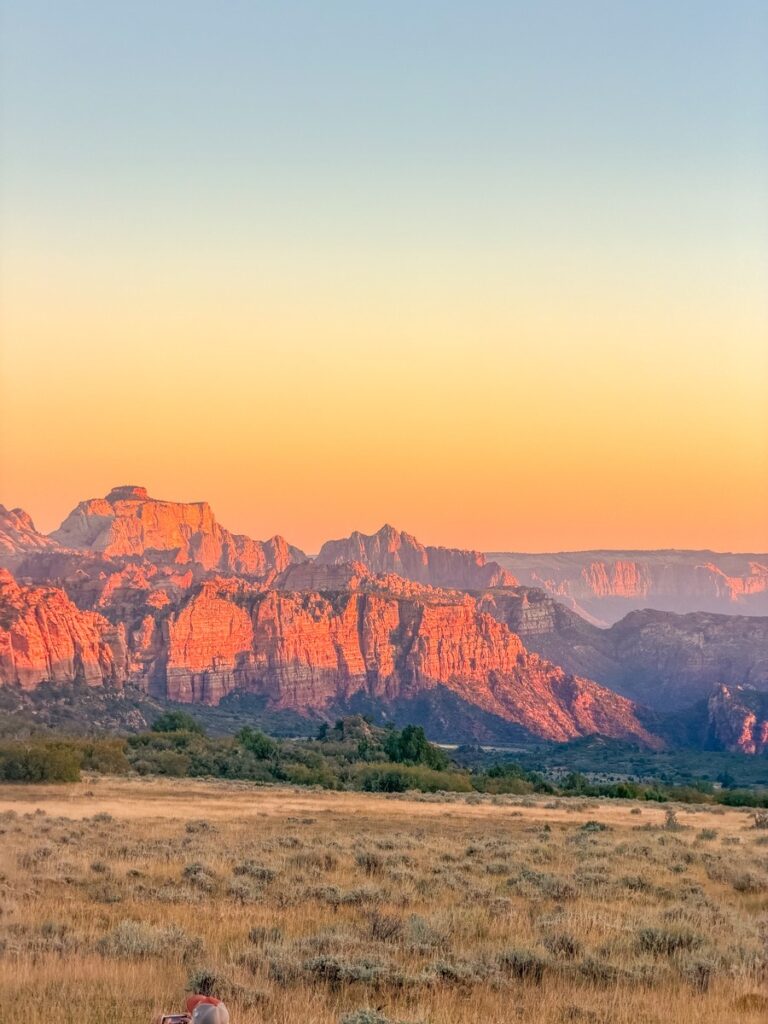
It’s called the Kolob Terrace Road. It’s a beautiful and peaceful drive that leads all the way to Kolob Reservoir.
You’ll barely see another car up here, and you can pull over almost anywhere you like to take in the views. The road climbs out of the red rock desert into greener, higher country, so the scenery changes a lot as you go, and in the fall you even get a bit of foliage.
Only parts of the road are actually inside the national park, and the section around the reservoir at the very end is unpaved.
It’s a lovely spot for sunset. On the way back down, I’d especially recommend stopping near Spendlove Knoll if you time it right, as it was one of the best sunset spots of our whole trip.
Day 2: The Narrows & the Mount Carmel Highway
Today is the day for Zion’s most famous hike: the Narrows!
Arrive at the Visitor Center as early as possible (around 7am).
Morning: The Narrows
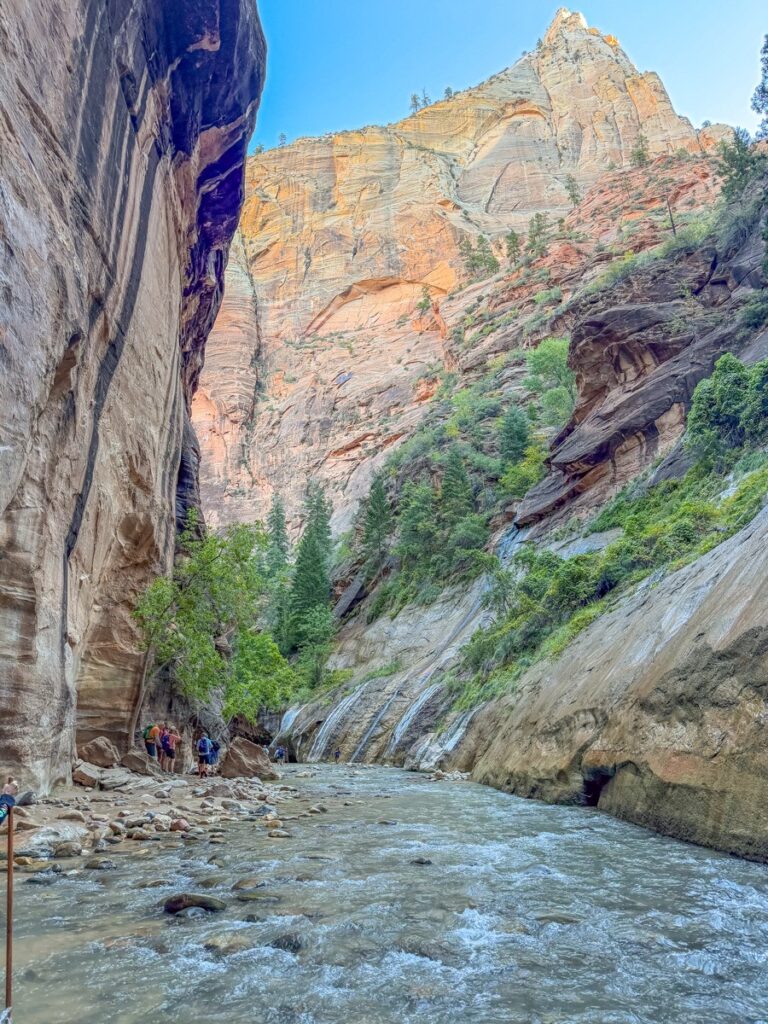
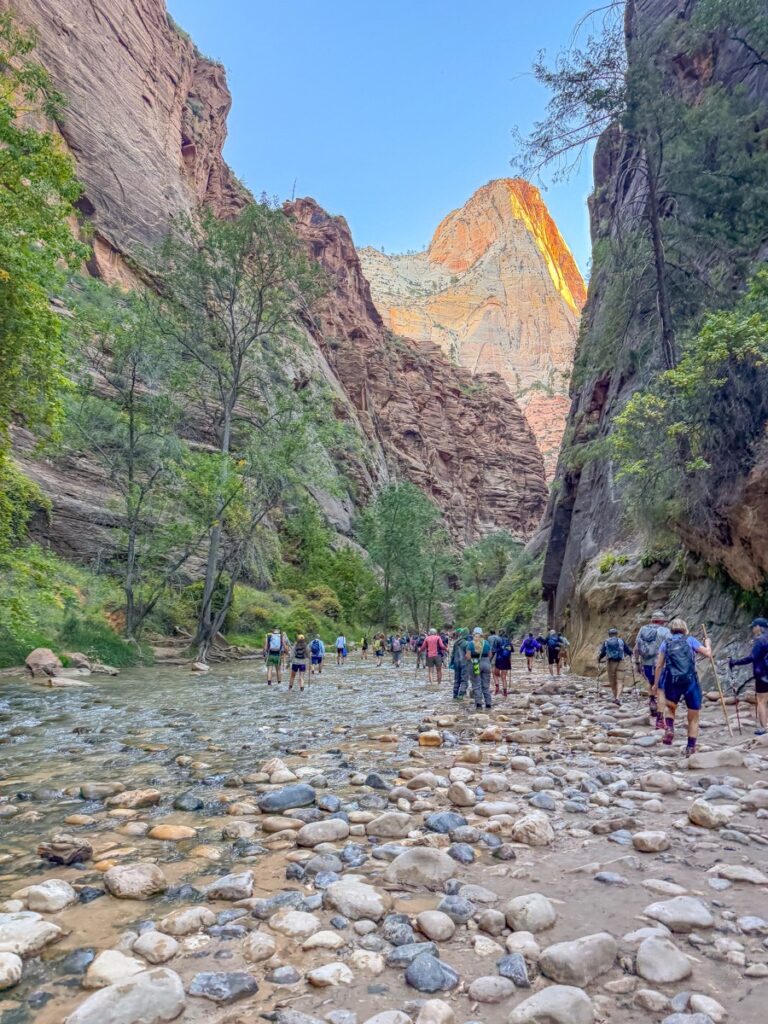
Get up early again, because the Narrows is the most popular hike in Zion and it gets really busy.
💡 Side Note: There aren’t many coffee places open early near Zion, so plan ahead. In La Verkin there’s the River Rock Roasting drive-thru (open from 6am), and in Springdale there’s Deep Creek Coffee Company.
Just like yesterday, drive to the visitor center, park up, put on your neoprene socks and water shoes and take one of the first shuttles all the way to the Temple of Sinawava, the last stop.
It takes about 45 minutes to get up there.
Once you arrive, you’ll see there are restrooms near the shuttle stop. I would highly recommend using them as there are none once you’re in the river.
You can then make your way to the Riverside walk which is a 1.1 miles trail. It’s paved and takes about 45 minutes.
At the end, you’ll reach a few steps that go down to the river. That’s where you start the river walk.
This is a bottom-up hike, which means you simply walk up the river as far as you like and turn back whenever you want. There’s no wrong way to do it but you can only go up to Big Spring. After that, you’ll need a permit.
If you go all the way to Big Spring, it will take you about 6 to 8 hours return but please note that the water is high at the end and you might need to swim.
Realistically, you’ll probably spend between 3 and 5 hours in the Narrows.
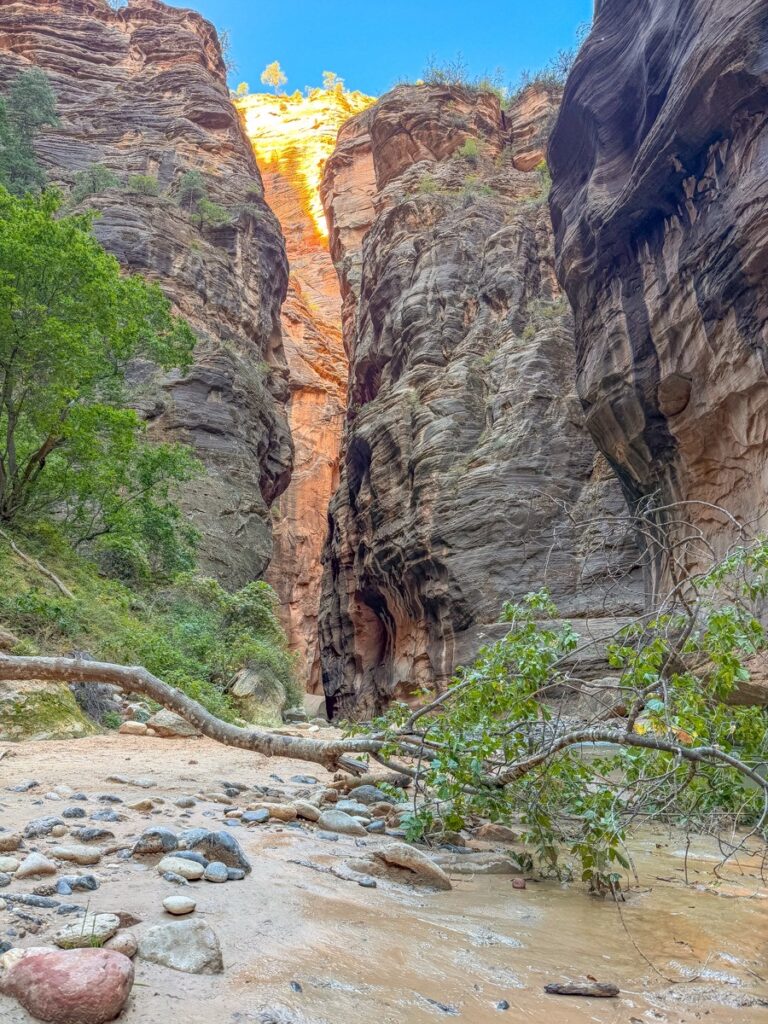
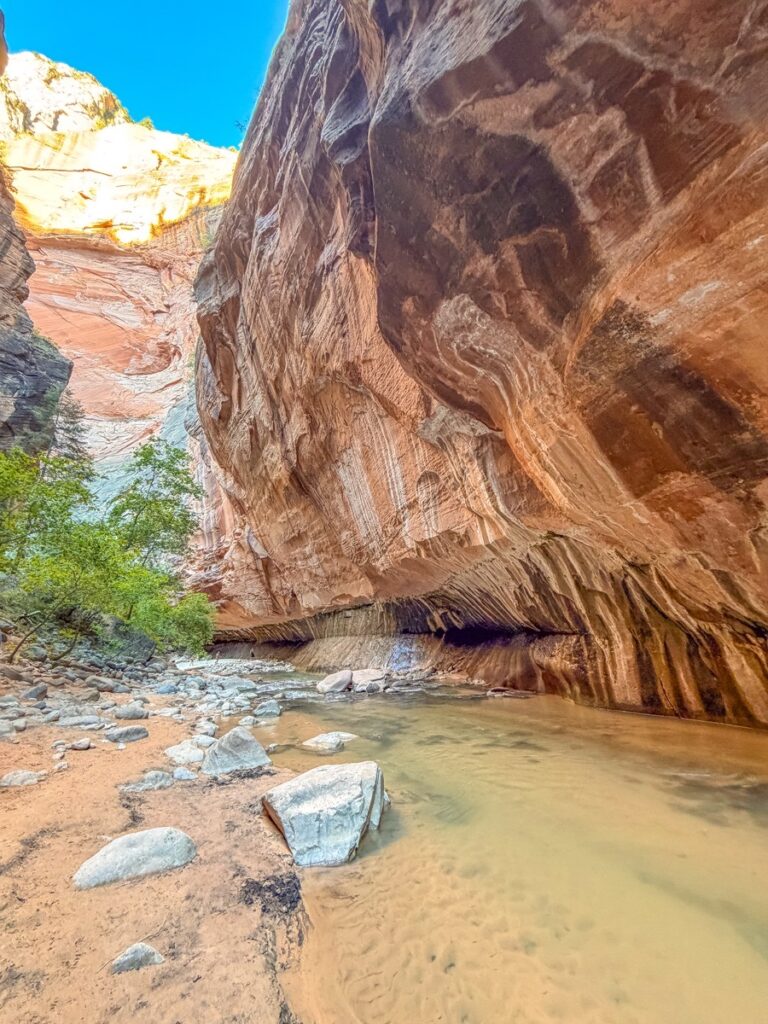
As you start, you’ll soon get to Mystery Falls and the alcoves.
Keep walking until you reach a spot called Wall Street, where the canyon gets really narrow and the river splits in two. Keep left here to carry on towards Big Spring.
A little further is Floating Rock, which makes a good turnaround point for most people (around 2.5 to 3 hours in). Up to there, the water mostly stays below the knee.
After Floating Rock it gets deep quickly, sometimes up to your chest, so unless you’re happy to swim, I’d turn back around there.
A quick word on the walking stick. The best way to use it is to plant it firmly in the riverbed and lean your weight on it like a third leg, rather than sweeping it in front of you. It makes walking on the slippery rocks so much easier.
A few more things to remember: don’t drink the river water (it’s full of bacteria), take snacks and plenty of drinking water, and wear shorts with a fleece on top, as it’s cold in the shade but you don’t want wet trousers clinging to you all day.
Going early really pays off here. We had stretches of the canyon almost to ourselves on the way in, and only met the crowds on the way back.
Afternoon: The Mount Carmel Highway & Canyon Overlook Trail
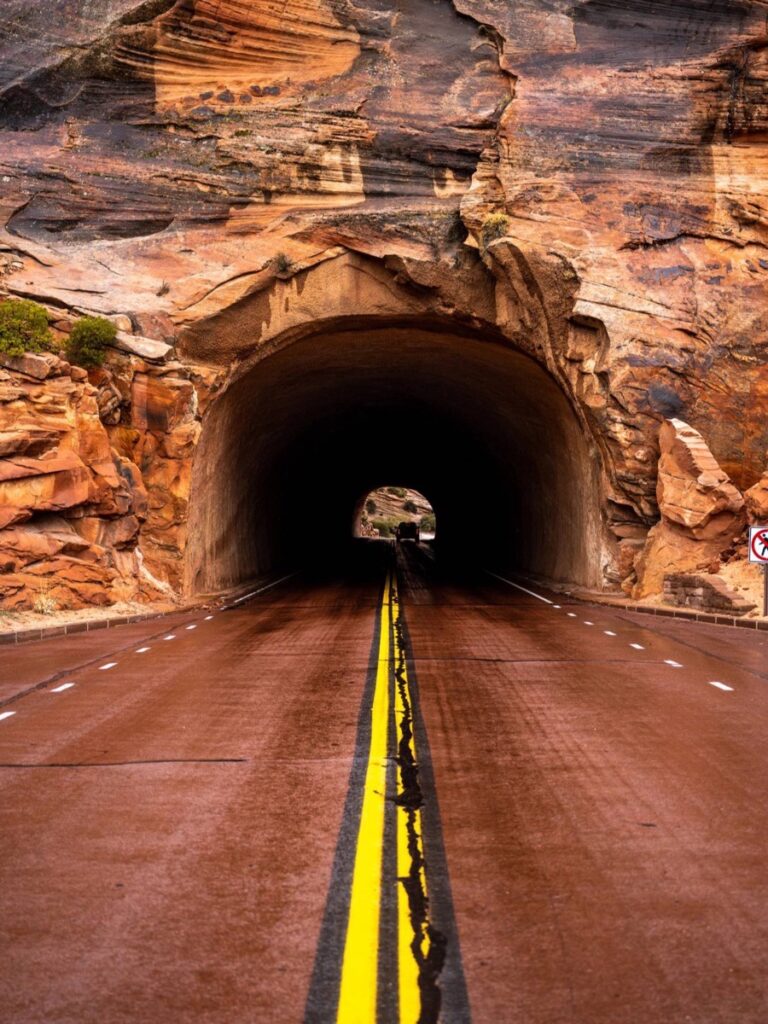
After the Narrows, head back to the car, swap your wet shoes for dry ones, and drive the Zion-Mount Carmel Highway on the east side of the park.
It’s one of the most scenic roads in Utah. It climbs away from the canyon floor through a series of tight switchbacks and then goes through a long, historic tunnel carved right through the rock.
Just past the tunnel you’ll find the small parking area for the Canyon Overlook Trail.
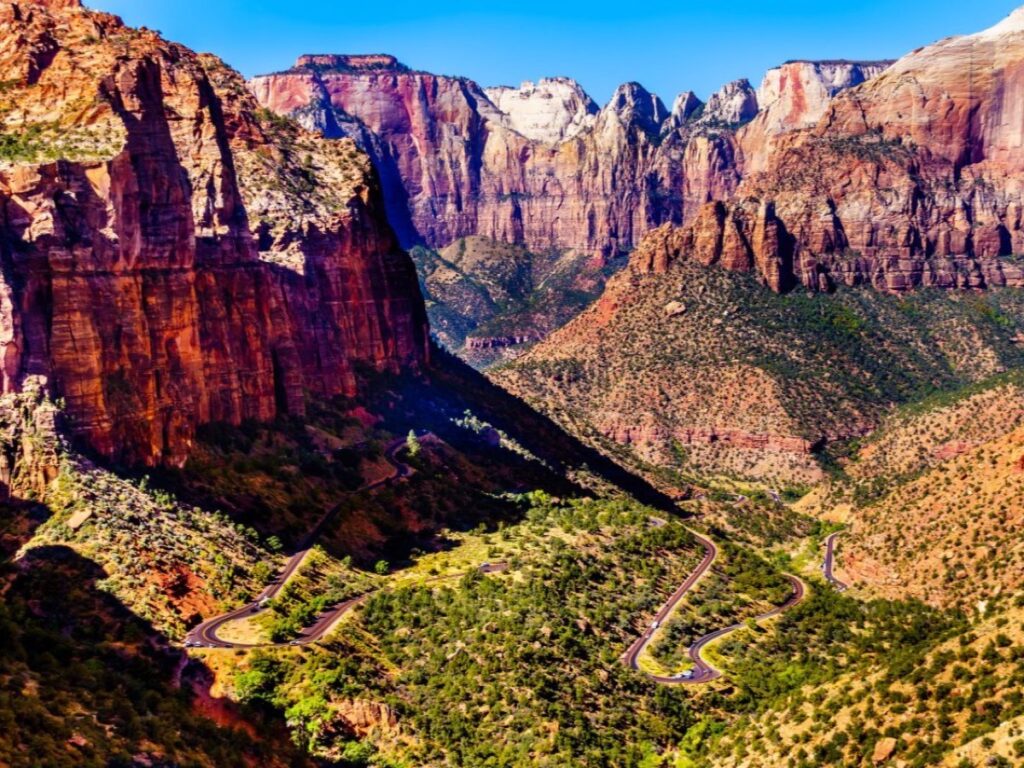
It’s a short walk of about a mile return (give or take an hour), with a few drop-offs along the way, and it leads to a stunning view back over lower Zion Canyon and the switchbacks you’ve just driven. It’s a lovely, easy way to end your two days.
After that, you can carry on east towards Mount Carmel Junction, which is handy if you’re heading to Bryce Canyon next.
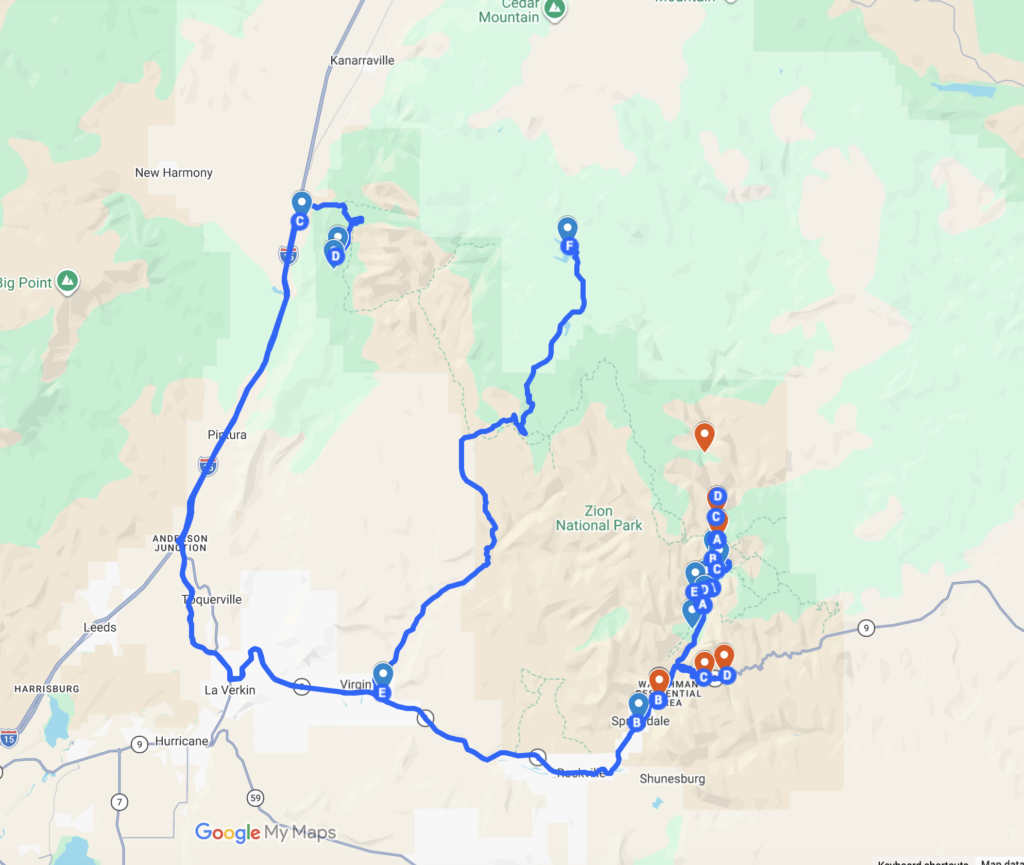
🗺️ Map of this Zion 2-Day Itinerary
💡 A few practical tips
- Start early both days to beat the heat, the crowds and the parking hassle.
- Apply for your Angels Landing permit in advance, and don’t worry if you don’t get one, you can always go to Scout Lookout.
- Pack a picnic and plenty of water, as the only food in the canyon is the cafe at Zion Lodge.
- Hire your Narrows gear the day before so you can start first thing.
- Check the weather and any closures before you go.
- Download an offline map and the free NPS app, as phone signal in the park is patchy.
🔗 You May Also Be Interested In:
- 16 Travel Tips For Visiting Zion National Park
- Valley of Fire 1-Day Itinerary From Las Vegas
- 9 Best Hikes in the Valley of Fire State Park (Ranked)
- 1-Day Yellowstone Lower Loop Itinerary from the West Entrance
- 16 Best Small towns in Arizona for a vacation away from the crowds!
- 20 Best Winter Vacations in the USA
